10/13/2000 trip to Richmond Field Station
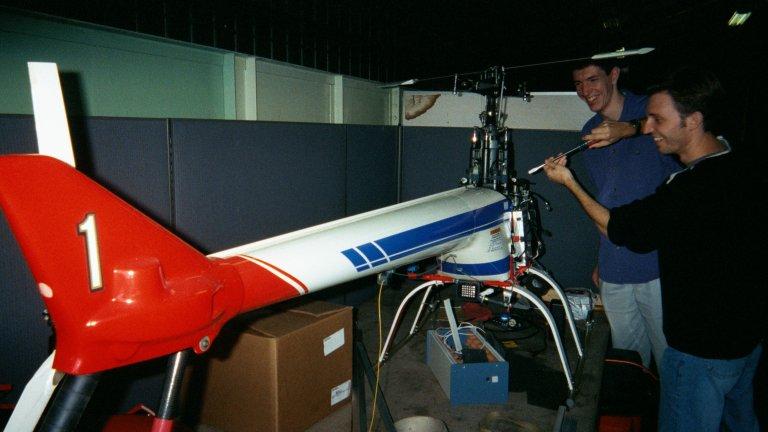
This page describes the system Drew Perttula and David McClosky built for Piedmont Light Opera Theater's production of Fiddler on the Roof in the summer of 1999.
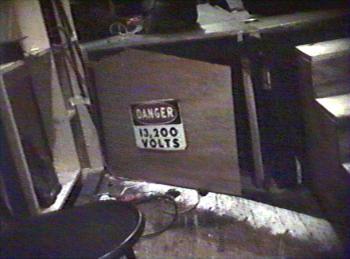 Behind the danger sign
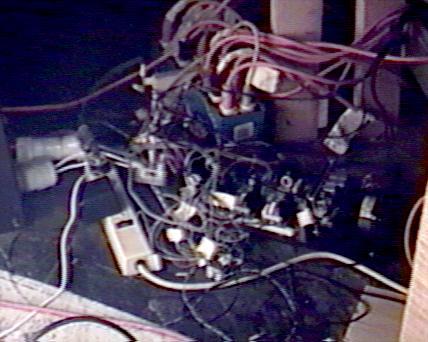 Signals from the computer system control 5 dimmers we built from excellent kits. We used higher-rated triacs, though, because we needed to power up to 1000W on one dimmer.
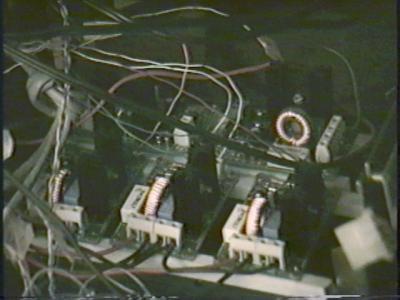 We had 19 lights for 11 effects, so I designed a system of relays that routed the 5 dimmers to different light groups. The sun lights could not dim; one relay connected the sun lights directly to the power.
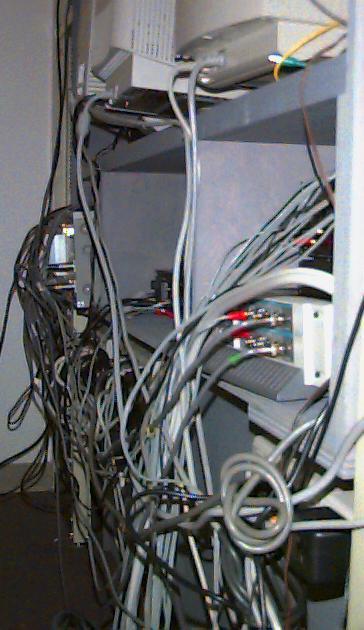
This picture shows some 5V relays that controlled bigger relays to route the dimmers, the 4 phases of the sun stepper motor, and the DC motors for the fire effect.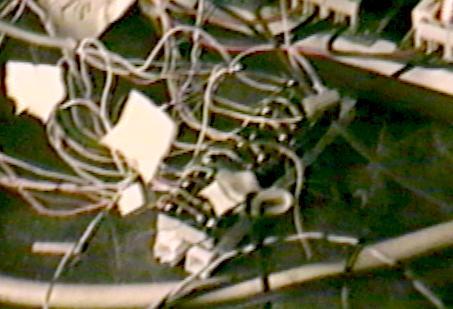
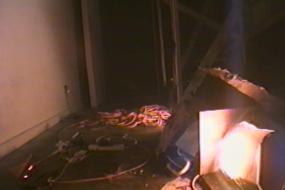
The relays that choose what dimmers go to what lights sit under these outlets. These extension cords go from the dimmer system to the various lights on the set.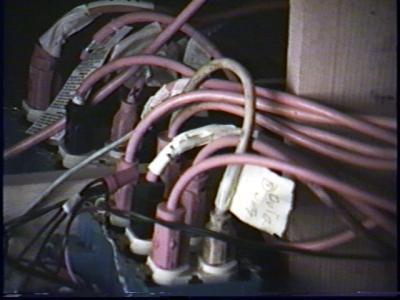
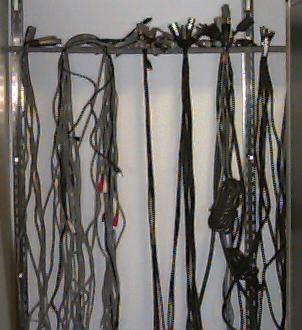
We borrowed hundreds of feet of extension cords to connect the lights to their dimmers.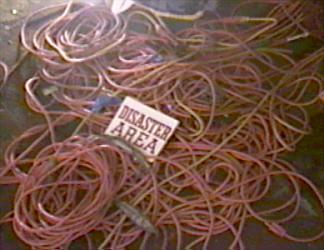
Some effects needed so much power that we had to use two 20 amp theater circuits to run them. I have a few pages worth of calculations to figure out how to split the power properly and what gauge all the wires need to be so they won't overheat.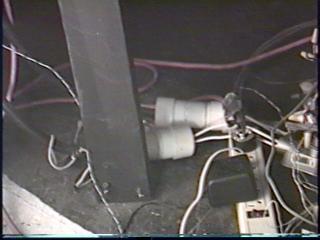
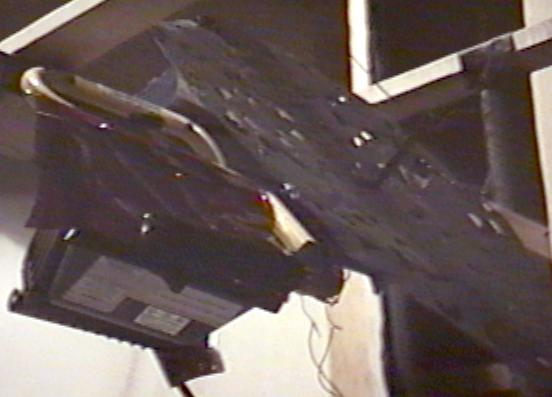
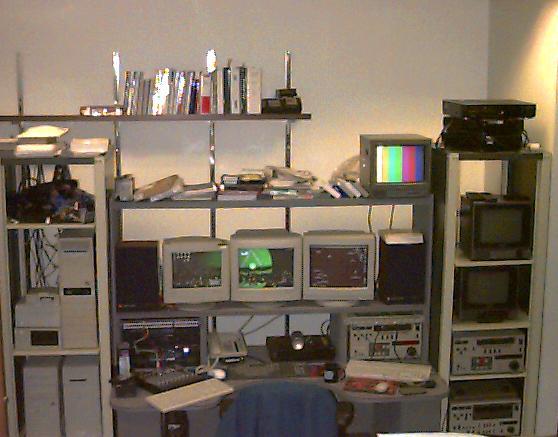
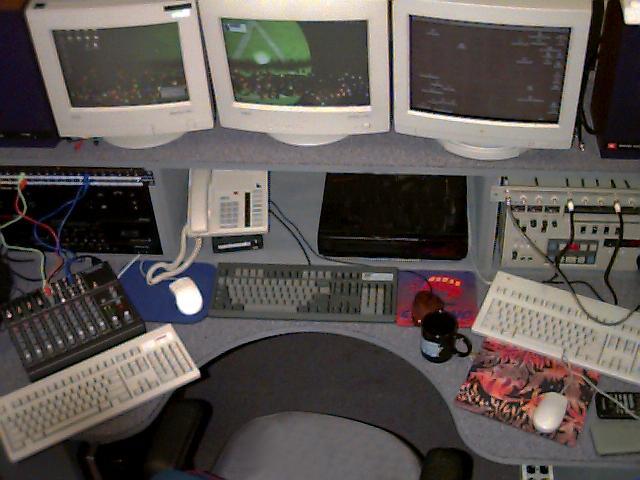
David operated a laptop terminal (lower left) in the booth while Drew controlled all the stage lights with a manual light board (right).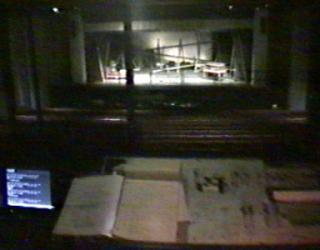
The laptop connected to this computer backstage through a serial link that we ran through some unused wires in the theater.
To do this: connect pin 2 to pin 3, pin 3 to pin 2, and pin 7 to pin 7. On a 9-pin RS232 connector, ground is on pin 5 instead of 7.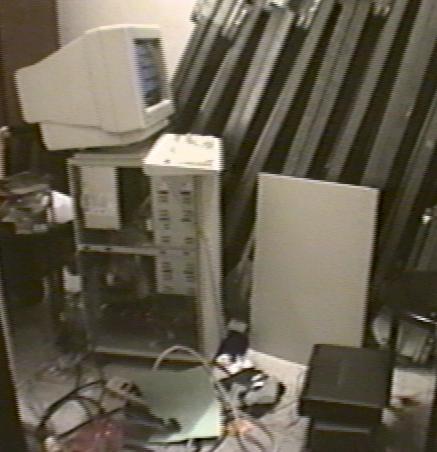
The red LED in the center of the picture shows that the ISA bus sent an address, I think.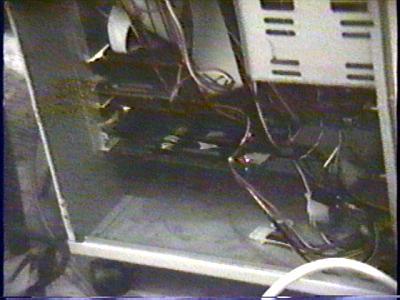
The connection between the I/O card's interface cable and the long cables that run to the dimmer system.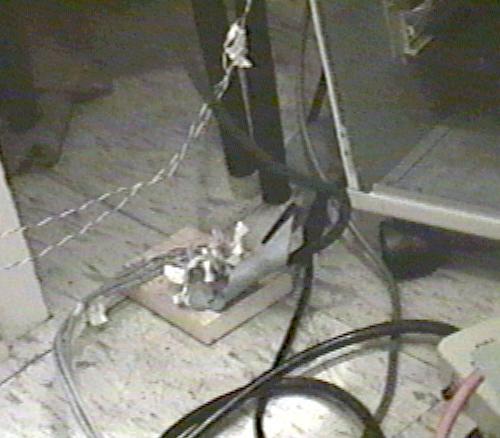
You can look at the neato I/O card we built for this project. This card has 3 8255 chips for 72 bits of output. 5 bytes of those go to 5 D/A converters which create the signals for the
dimmers.
Drag left and right on this image to rotate the board (if the JS works in your browser):
Rotator program by Honeylocust Media Systems
Drew wrote a tiny program in C to control the interface card. A few perl scripts do all the rest. The computer runs Linux, of course.
I haven't gotten the final versions of the code for this page. We modified the software almost every night, and I haven't brought the new code to this machine yet (2003/2/10).
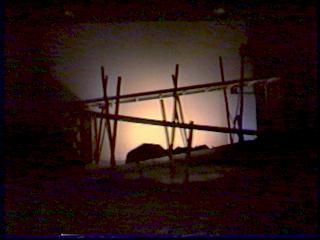
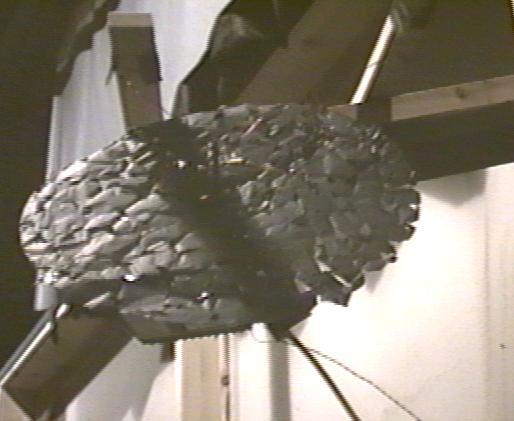
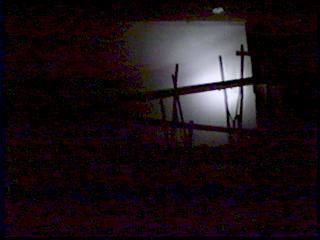
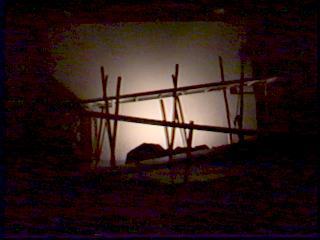
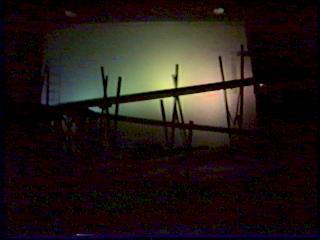
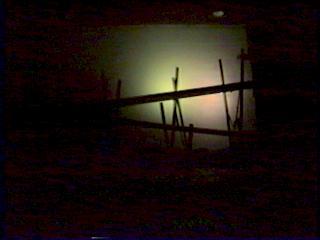
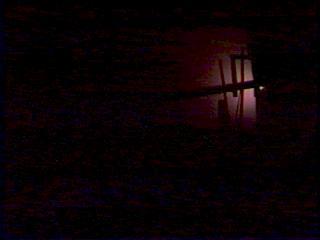
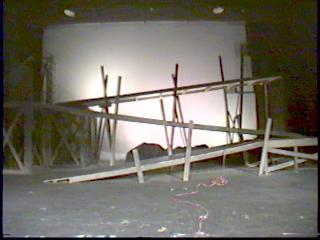
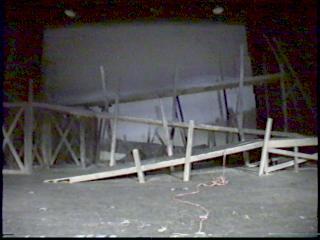
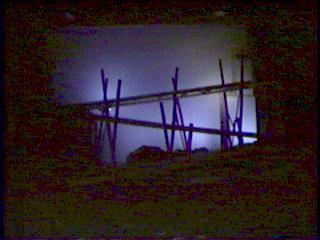
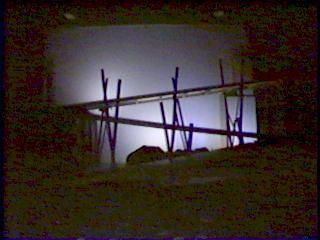
What it looks like when the sun motor moves
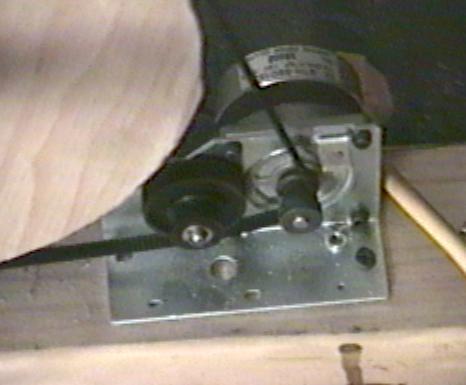
Drew took apart a flatbed scanner to get this stepper motor.
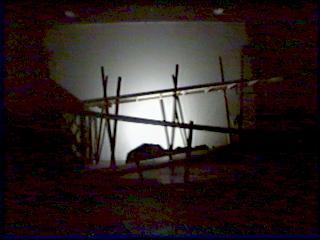
Two lights spin on a pipe that the stepper motor turns. Each light is in a box that blocks the light when it tilts too high or low. You can see the left sun light, the wheel, and the box for the other light.
Right sun light
Right sun light
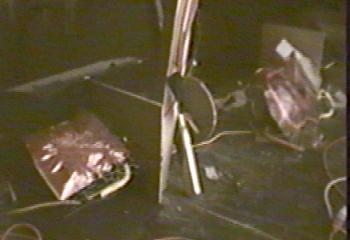
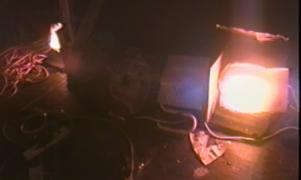
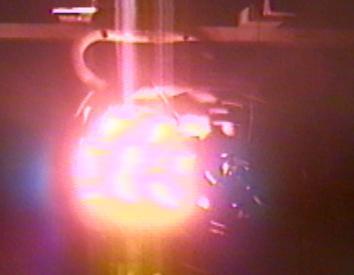
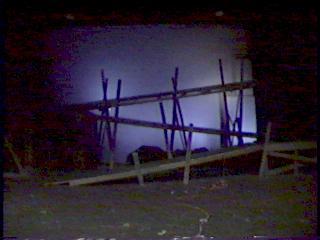
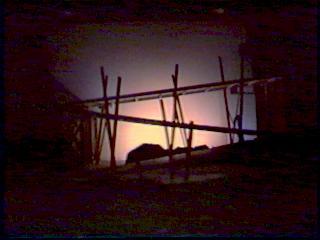
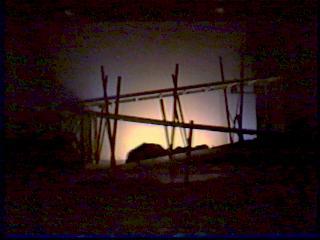
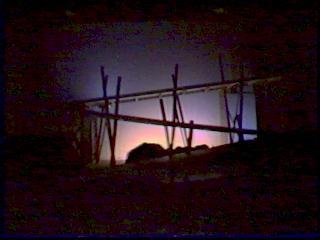
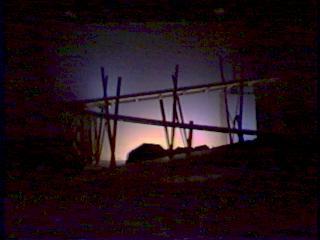
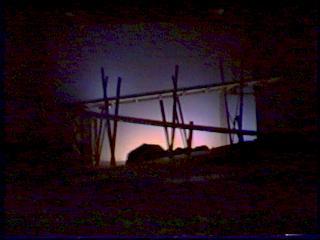
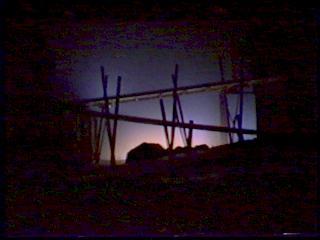
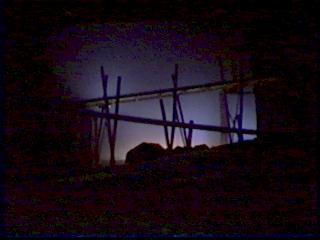
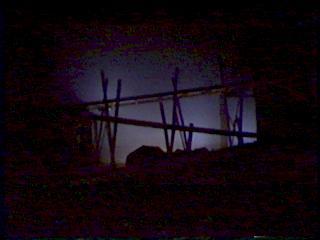
Sun effect (with some other lights)


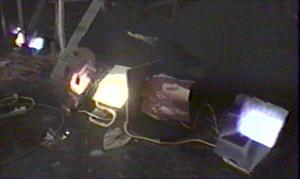
We hung two work lights and put red gels on them. DC motors spun big snowflake patterns in front of the lights. I could not get pictures of the effect on the wall. The video camera I used can't see things so dim.


Click images for larger versions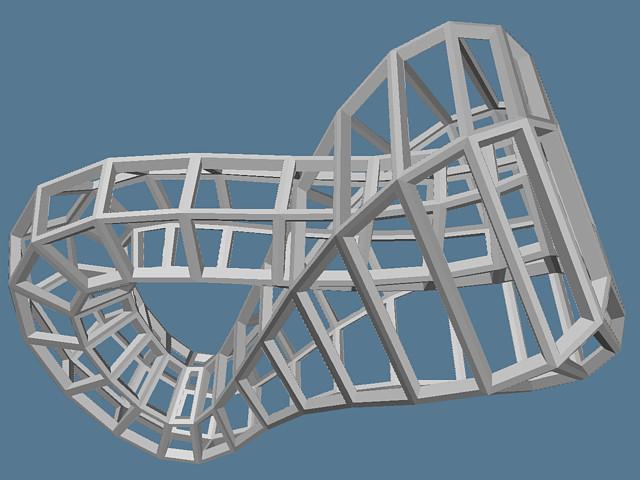

Background photograph courtesy Philip Greenspun
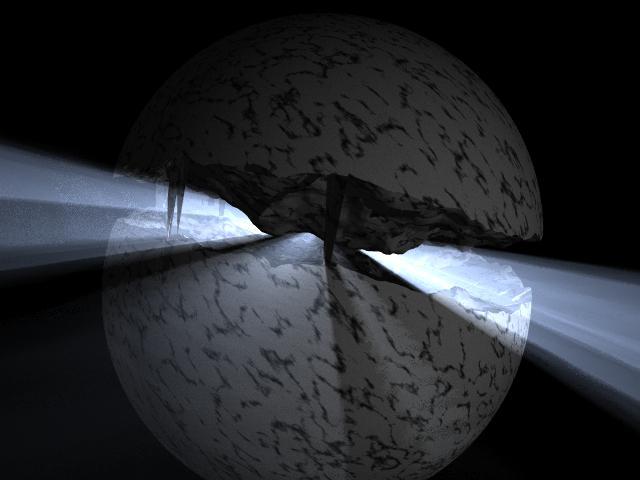
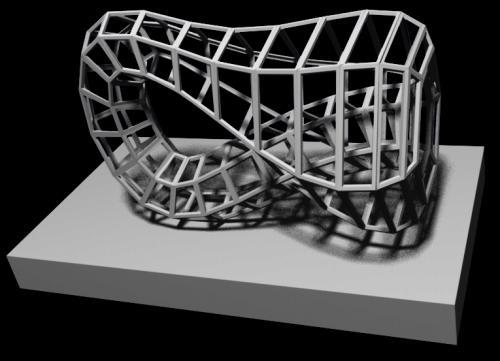
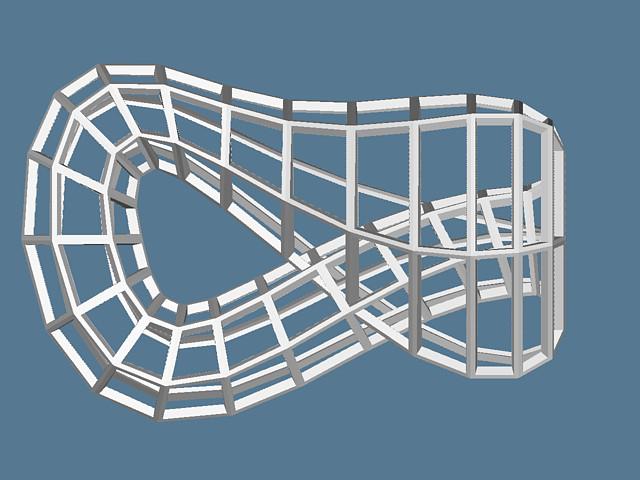
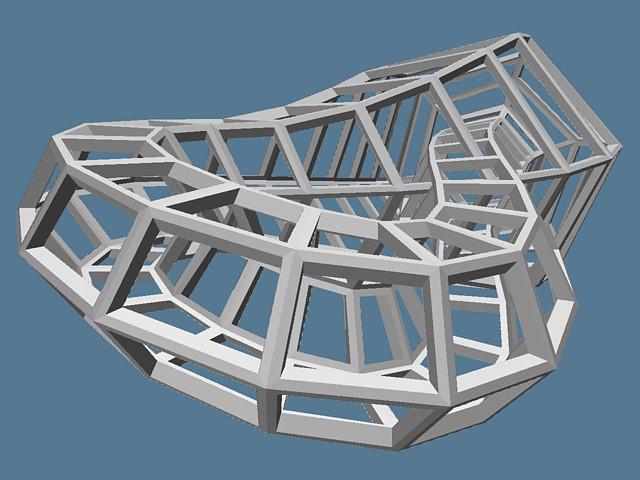
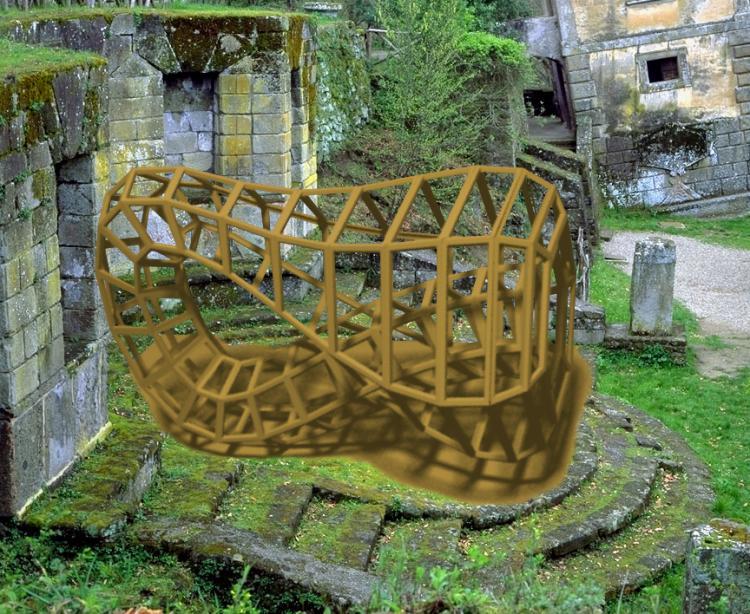
This is a model of the standard immersion of the Klein bottle in three dimensions. The u/v gridlines (in my formulation) are thickened, and special care is taken so that at the circle where the surface self-intersects, the grid does not.
A physical model built from this description would make a useful teaching aid. It allows people without access to a computer and 3D viewer to turn a Klein bottle around and examine its features.
In addition, the connectivity of the grid creates a few mobius strips of varying lengths between the grid lines.
The complexity of this part demands that it be built using some SFF technique.
The shape is just over two units long, and each grid tube is a near-square .04 units on a side. If the part is sized so the side length is 2mm, the whole shape is just under 4in.
Cross-section rings: 24
Sides per ring: 6
Object genus: 145
Faces (as triangles): 3456
Vertices (as triangles): 1440
Volume (scaled so side length is 2mm): 11.8 cm^3
Surface area (same scale factor): 25.8 cm^2
Geomview OOGL file (quadrilaterals)
VRML file (quadrilaterals)
MUG object (triangles)
STL object
I wrote an interactive module for Geomview that allows the user to control 12 variables in my klein bottle equations. The program evaluates the u/v equations around the shape and calculates normals, inward points (a small distance into each grid square), and the edge list to describe the gridded shape. It can output to Geomview over a pipe, for instant display, or write SIF.
Here are the parameters to my equations, with descriptions:
usteps, vsteps: how many steps to take along u (the long axis) and v (around the cross-section)
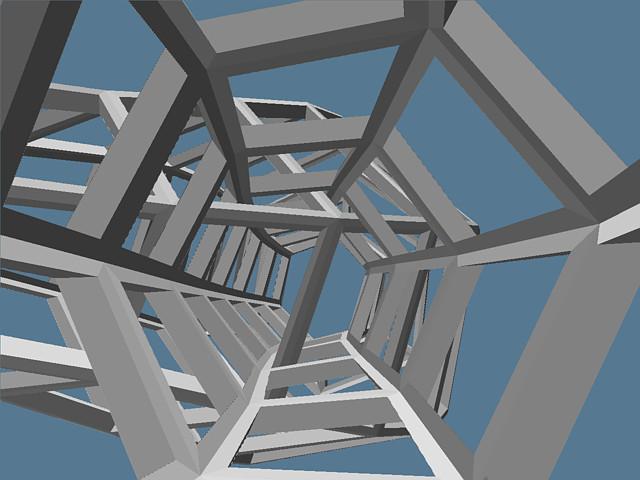
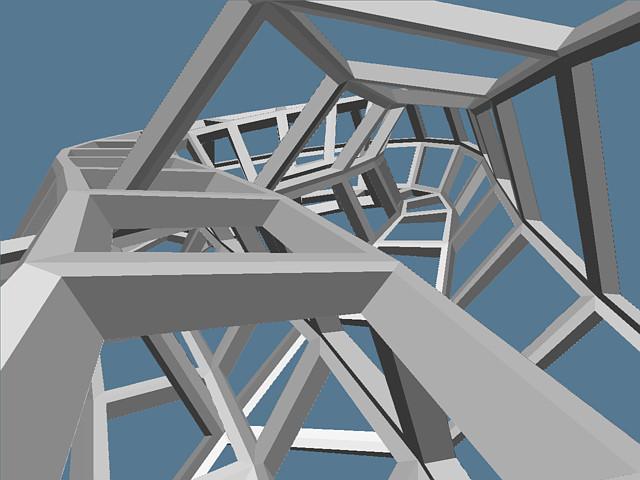
vshift: The gridline that starts at u=0,v=v0 does not connect to itself-- it connects to u=0,v=v0+vshift. This helps prevent gridline collisions at the circle of self-intersection, and it adds a pleasing twist to the grid. This twist is especially visible looking in the "mouth" of the bottle.
side,infrac: These are the number of units the grid should be thickened along the normal and along the original surface, respectively.
skew: This exponent warps the spine of the bottle in the x-axis so help prevent gridline collisions.
perp: This is the coefficient to an adjustment that bends the cross-section such that, at the intersection area, the section with the small radius tilts to become more perpendicular with the section of larger radius.
perp start/end angle: These are the starting and ending u values for the adjustment described above. A quartic function is used to make the effect start and stop smoothly.
baserad, radamp: The cross-section radius varies from baserad-radamp to baserad+radamp.
zpush: This is the coefficient to an expression that pushes the small neck of the bottle out of the plane of symmetry along the same section that is twisted with 'perp'. (zpush=0 in the final shape)
The trickiest part to writing the program was handling the wrap at the end. I tried to write special cases to connect the "outside" to the "inside", etc, to make the grid close correctly. Still, even though I corrected all visible defects, Sara's analyzer told me there were flipped normals and non-manifold edges. Finally, I took advantage of the analyzer's vertex-merging feature: my program does not imagine the bottle to be connected at all, but of course my parameterization returns identical values at u=0 and u=2pi. Removing all the end-connection code and extending the evaluation along u all the way to 2pi created a visually AND geometrically correct part. The analyzer had to fix 2 points where rounding errors outputted slightly different numbers. (View the analyzer's output).
To prevent gridline intersections where the shape self-intersects, I used my interactive geometry generator and the Geomview viewer. Usually, I adjusted Geomview's near and far clipping planes to enclose a very small slice of my shape, so I could see the critical area without any foreground or background geometry in the way. Then I orbited the area over and over so that I could see "sky" between each pair of gridlines that might be intersecting. I never checked the region analytically, but I think I was able to see a gap everywhere there should be one.
See my CS284 project-- it's even prettier!
Get the Tcl plug-in around here (updated 6/01).
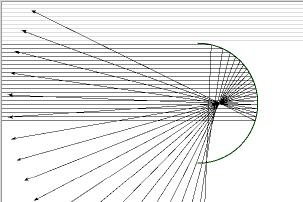
The lines reflect off the spherical mirror. You can drag the mirror around and adjust four other parameters. If you move the mouse on a line, the point of reflection will be labeled with the reflecting angle.
The point is that it is easy to see spherical abberation with this demo. The lines don't all intersect at the same point after reflecting in the spherical mirror.
I wrote this while taking Physics 7B at U.C. Berkeley, fall 1997.
reflect.tcl
#!/usr/bin/wish

canvas .c -bg white -width 630 -height 350 -closeenough 5 -bd 2 -relief sunken
pack .c -fill both -exp 1 -side top

proc control { text var from to } {
  global $var
  frame .f$var -bd 2 -relief raised
    label .f$var.l -width 20 -text $text
    scale .f$var.s -from $from -to $to -length 300 -orient horizontal -var $var
    pack .f$var.l -side left
    pack .f$var.s -side right -fill x -exp 1
  pack .f$var -side top
  bind .f$var.s <B1-Motion> {putlines}
}

control startlines startlines 0 700
control endlines endlines 0 700
control radius r 10 300
control spacing spacing 1 60

set startlines 32
set endlines 200
set spacing 12

set cx [expr (320+630)/2]
set cy [expr (24+334)/2]
set r 155

proc putlines { } {
 global cx cy r startlines endlines spacing
 .c delete rays
 .c delete circle
  .c create arc [expr $cx-$r] [expr $cy-$r] [expr $cx+$r] \
  [expr $cy+$r] -tags circle -width 2 -outline #004000 \
  -start -90 -extent 180 -style arc

for { set y $startlines } { $y < $endlines } { set y [expr $y+$spacing] } {
  if [catch {\
  set hitx [expr $cx+sqrt($r*$r-($y-$cy)*($y-$cy))]}] {
   .c create line 0 $y 1000 $y -tags rays -fill gray
   continue;
  }
  set angle [expr 3.1415/2.0*($y-$cy)/$r]
  set bx [expr $hitx-500*cos($angle)]
  set by [expr $y-500*sin($angle)]
 # .c create text [expr $hitx+15] $y -anc w -text $angle -tags rays
  set id [.c create line 0 $y $hitx $y $bx $by -arrow last -tags rays]
  .c bind $id <Enter> ".c itemconf $id -width 3 -fill red; \
     .c create text [expr $hitx+15] $y -anc w -text [expr int(abs($angle*180/6.28))] -tags txt"
  .c bind $id <Leave> ".c itemconf $id -wid 1 -fill black; .c delete txt"
}
}
putlines
set c .c
bind $c <1> "itemStartDrag $c %x %y"
bind $c <B1-Motion> "itemDrag $c %x %y"

proc itemStartDrag {c x y} {
    global lastX lastY
    set lastX [$c canvasx $x]
    set lastY [$c canvasy $y]
}

proc itemDrag {c x y} {
    global lastX lastY cx cy
    set x [$c canvasx $x]
    set y [$c canvasy $y]
    $c move circle [expr $x-$lastX] [expr $y-$lastY]
    set cx [expr $cx+($x-$lastX)]
    set cy [expr $cy+($y-$lastY)]
    putlines
    set lastX $x
    set lastY $y
}
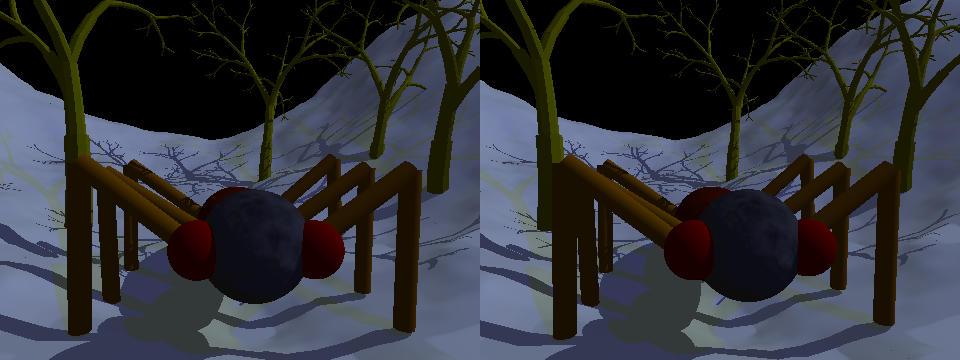
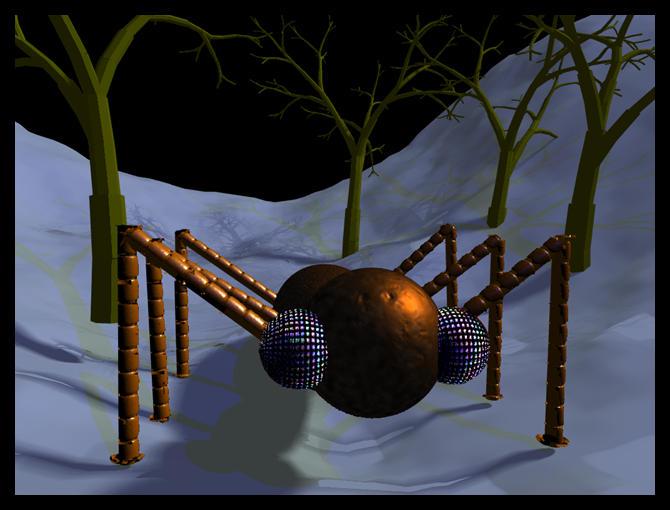
This is a cool stereo pair of the scene. No shaders on the bug. Cross your eyes to see it (don't diverge them).
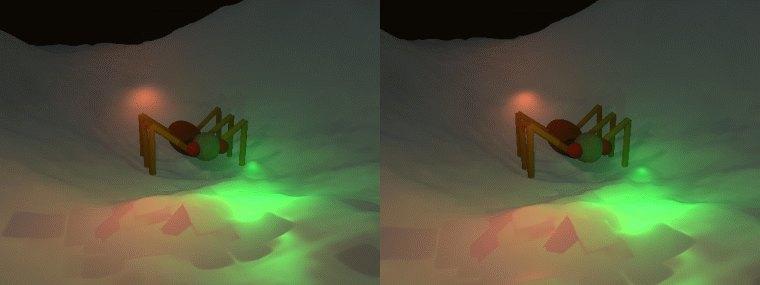
Older stereo pair. You can see the contours in the snow really well. The red and green lights are light sources in the air around the bug.
Click thumbnails for larger images
 interface, with a
 Wireframe
This is the quality I have to use at home. My
machine doesn't draw fast enough.
 Solid
Solid
The SGI machines can run at this quality, really, really fast.
This animation shows the bug climbing a hill and jumping.
The bug
was walking in the live-bug program, and I saved a series of positions.
Then I had Povray render the frames. Took 50 minutes on a 500mhz Dec Alpha.
(80 frames, 510k)
[full size animation, 8mb FLI]

Around the beginning of June, 1997, Stephanie (my sister) had this assignment for an eighth grade science class. I don't know what the assignment was, actually. But this worked.
We wrote the script/storyboards in a few hours one evening. Then we shot the elements all over the place. The spaceship interior is at my desk at work. Everything else is a composite onto a model made of electronics junk or onto computer generated graphics.
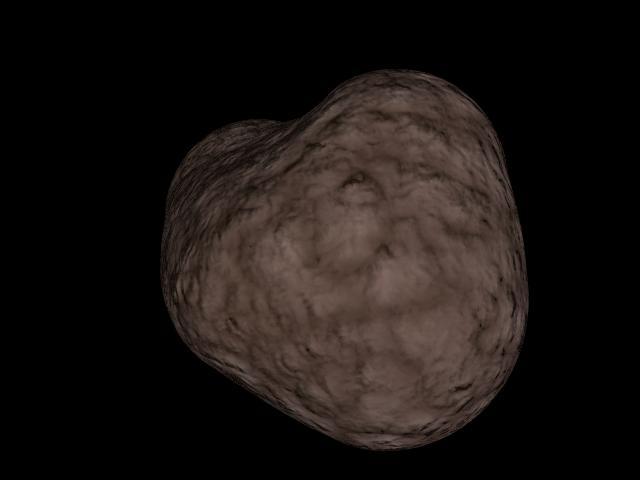 This is the asteroid that hits their ship.
|
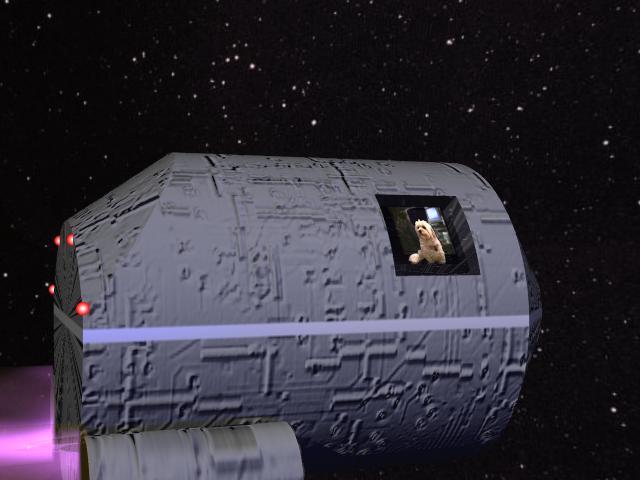
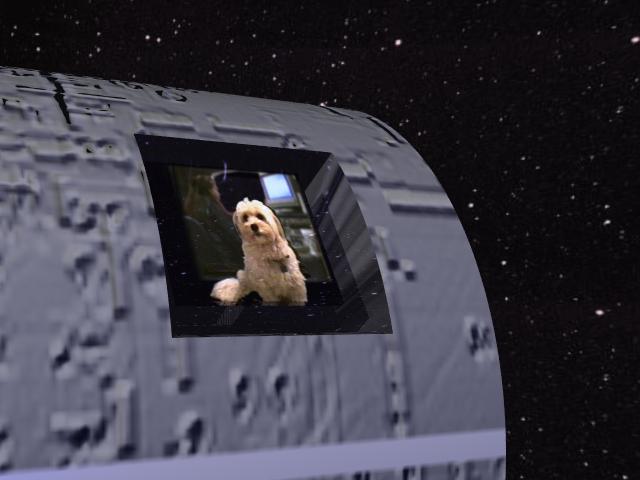
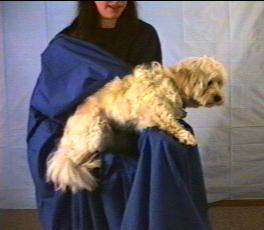
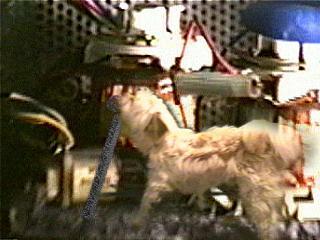
 The other ship has a dog captain (played by Micky) and two dog crew members (also Micky).
|

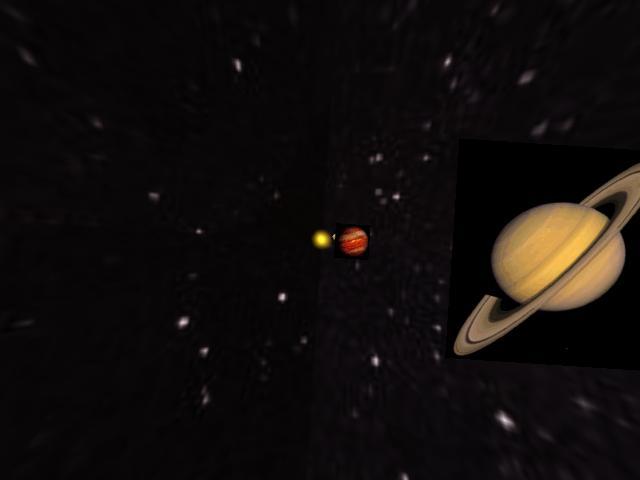 from the opening animation that flies by all the planets until it reaches the ship
|
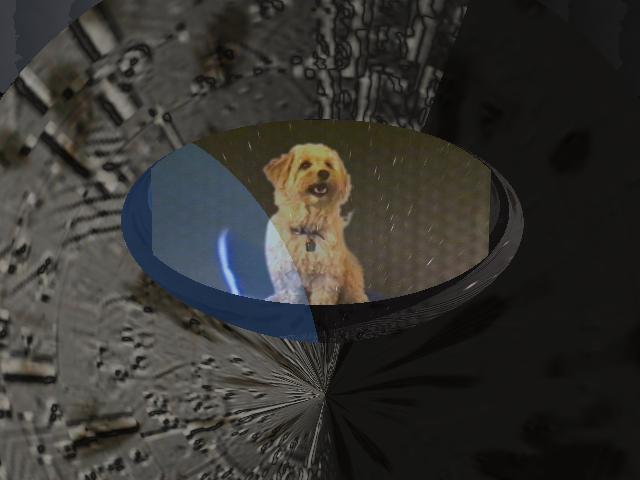
 the spaceship with Micky composited on Stephanie composited on a front starfield. You can faintly see the stars reflecting in Micky's window
|
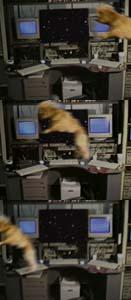  This is the most surprising shot in the video.
Micky makes a high-pitched bark and is thrown across the cabin.
There are close to no artifacts in the
composite (just lots of motion blur), so people wonder if we threw the dog. Sorry. Stephanie just held him in the air for a second
and I separated the dog from the blues. This is the most surprising shot in the video.
Micky makes a high-pitched bark and is thrown across the cabin.
There are close to no artifacts in the
composite (just lots of motion blur), so people wonder if we threw the dog. Sorry. Stephanie just held him in the air for a second
and I separated the dog from the blues.
|
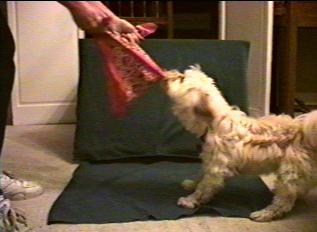 All the moves you see in the video are the animal's natural behavior or extensions of natural behaviors. (That's what they say over and over again at Marine World.) The scripts for this project say that the dogs on the dog ship all wear different costumes like ribbons, an eye patch, or a bandana-- which we were trying to get Micky to wear here. No costume looked very good, but I was able to use this footage for the lever-pull effect.
|
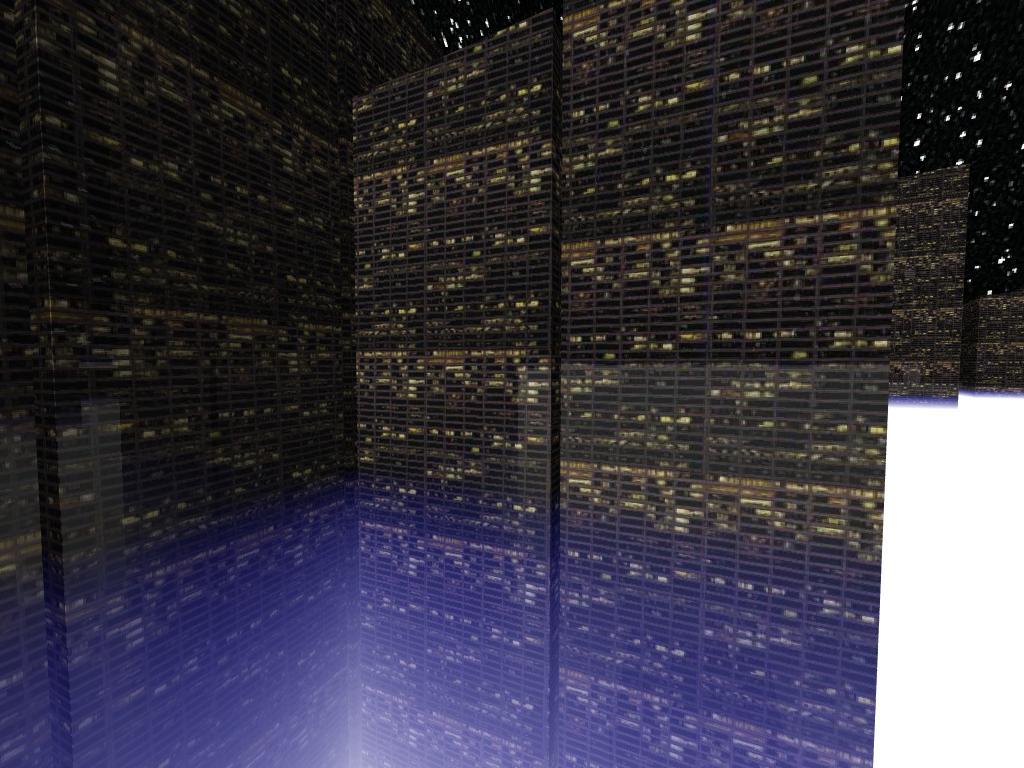
Here are some experiments I made of the city look. I started in POV-Ray, then moved to the Blue Moon Rendering Tools because Renderman lets me write my own shaders. I think all these pictures were rendered by POV-Ray.
This is a 30-second commercial-style animation I want to make. I've got a script, storyboards, and some rough timings. I would like to include as much interesting motion as possible, such as flocking birds and sloshing liquid.
I started the project a few years ago (like around 1995) when I used an Amiga. Here are some pictures from then. Here are some renders by Imagine. I made these on my Amiga 2000 a long time ago.


Here are some renders by POV-Ray from around January 1997.
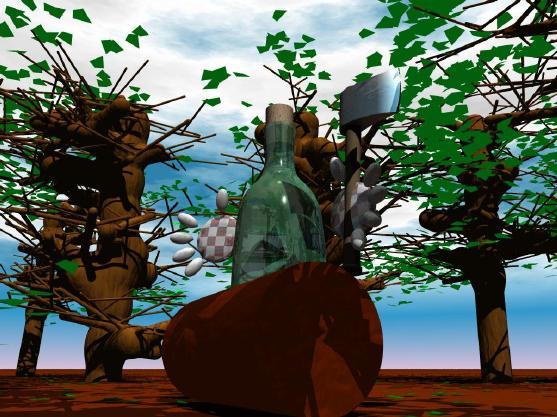
This is the the bottle shape against some clouds. I kept this because I can make Absolut Vodka ad parodies out of it.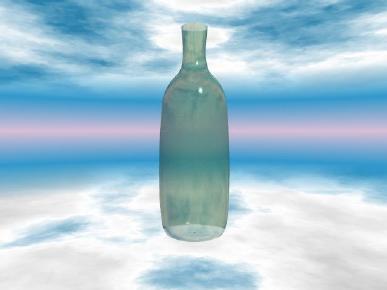
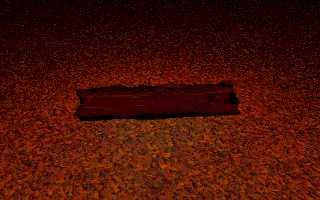
Here's an accident where the bottle cast no shadow. Only the label did.![]()
The fingers merge together.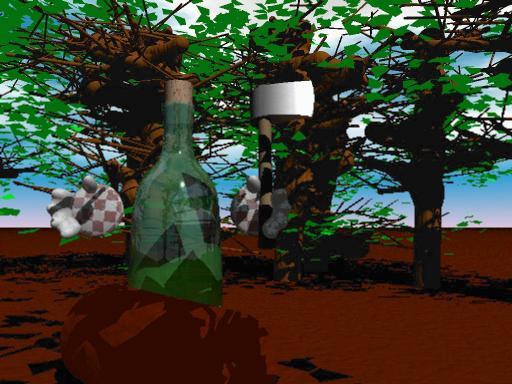
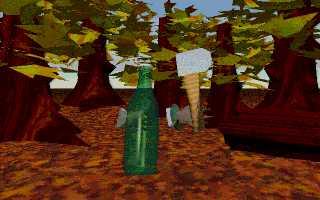
Here's one of the odd trees. A Perl script generates the recursive shape. POV-Ray did the rendering, using its blob objects.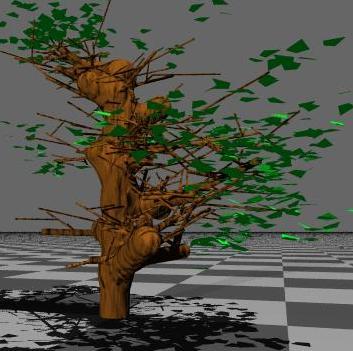
Nice hands. I forgot to put checkerboard on the fingers, and POV-Ray made the texture dissolve between the blob components.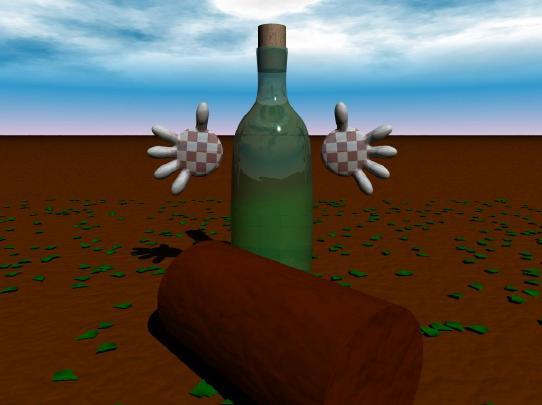
This is an older version of the interface. You can see the preview on the right and the matching rendered image on the left. The gray box has all the axis of
motion.
Interestingly (to me), a similar UI issue came up on my lighting control system. Just like this very old tcl/tk program could map joystick axes to channels, the light9 system we used in summer 2002 could map 4 external sliders to submasters. We handled the UI differently in light9.
Then I rebuilt everything in POV-Ray (around 1998). Here are some newer pictures.
For the most control, I'll probably move the whole thing to Renderman and render with the Blue Moon Rendering Tools.
8/27/2002 - Wouldn't that be nice. But Exluna pulled BMRT. So maybe I'll keep sitting on this project until povray has a complete shader system, and then use povray.
Custom built this fine desk years ago. When I moved out of that desk, it went to vision media arts.

 Second half of the project
 Here's a frame of an animated 3D lever.
 fog1, Sat Apr 19 12:02:23 1997
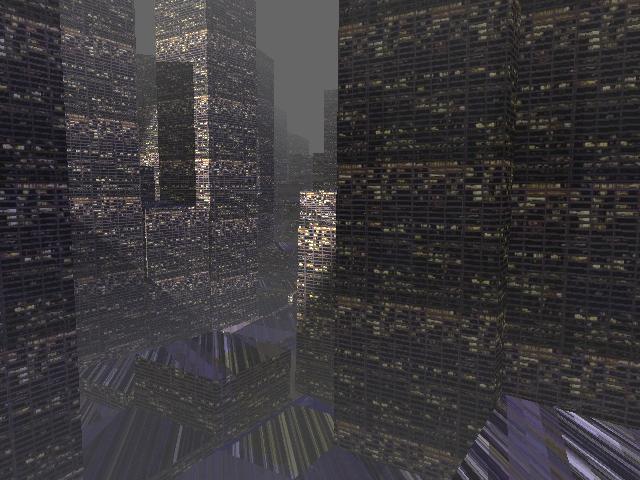 fog10, Mon Apr 21 16:26:51 1997
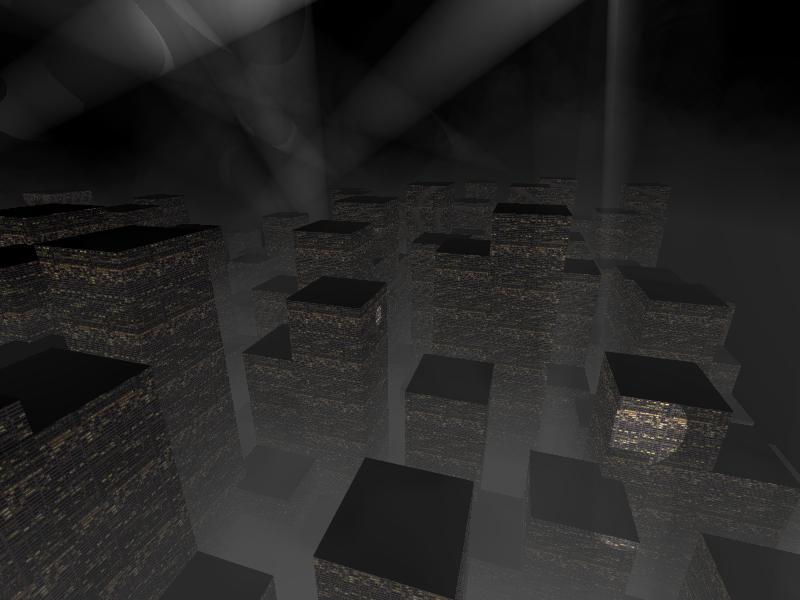 fog11, Wed Apr 23 10:45:47 1997
 fog2, Sun Apr 20 15:13:34 1997
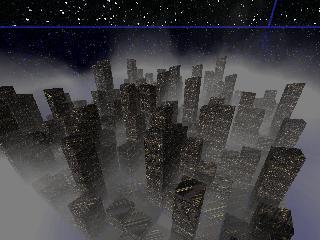 fog3, Sun Apr 20 17:46:38 1997
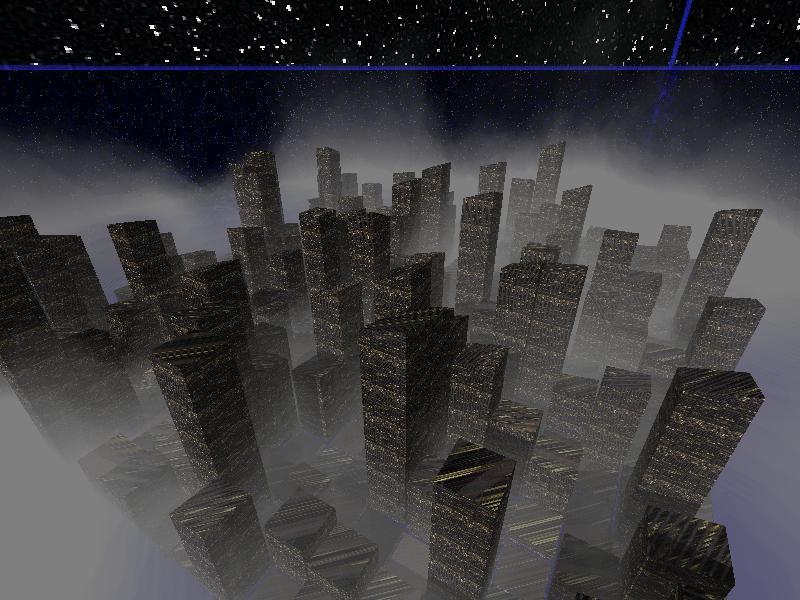 fog4, Sun Apr 20 19:29:06 1997
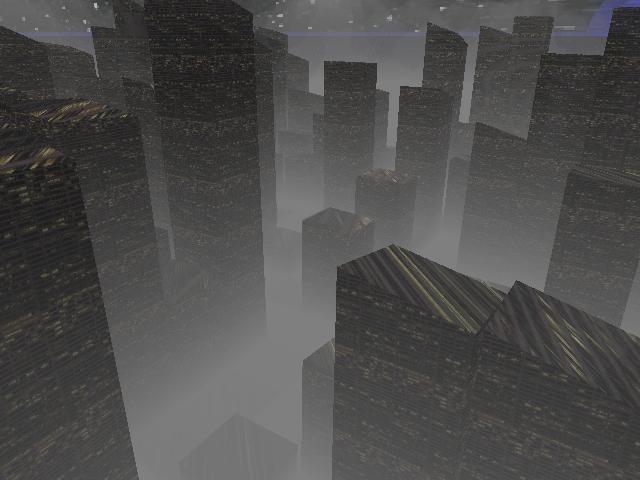 fog6, Sun Apr 20 22:30:50 1997
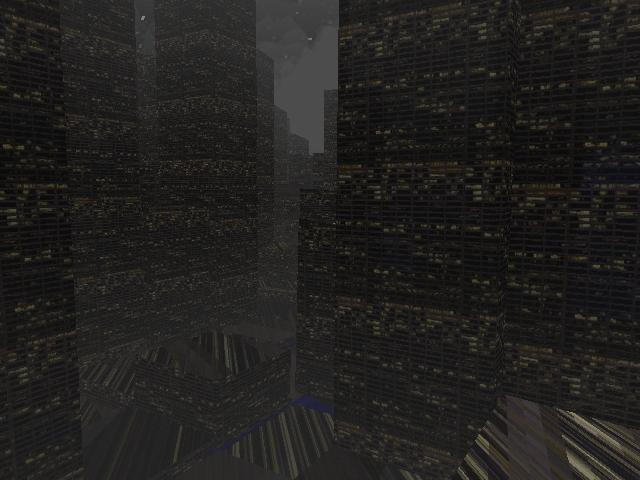 fog7, Mon Apr 21 00:22:29 1997
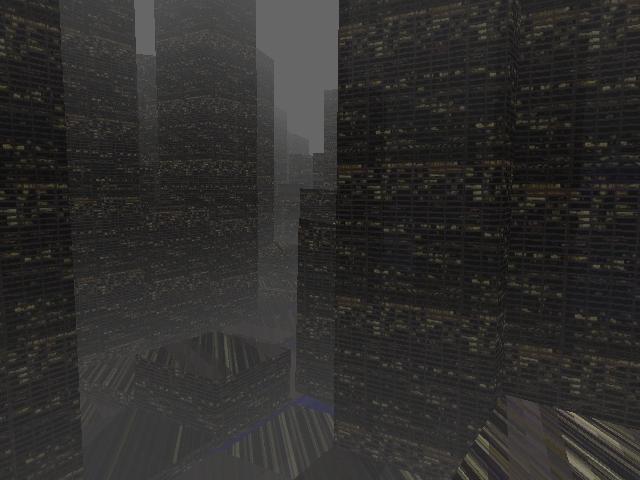 fog8, Mon Apr 21 13:11:49 1997
 fog9, Tue Apr 22 00:13:22 1997